Important
To configure the Universal REST API Fetcher, go to its guide.
Go to Settings >> Log Sources from the navigation bar.
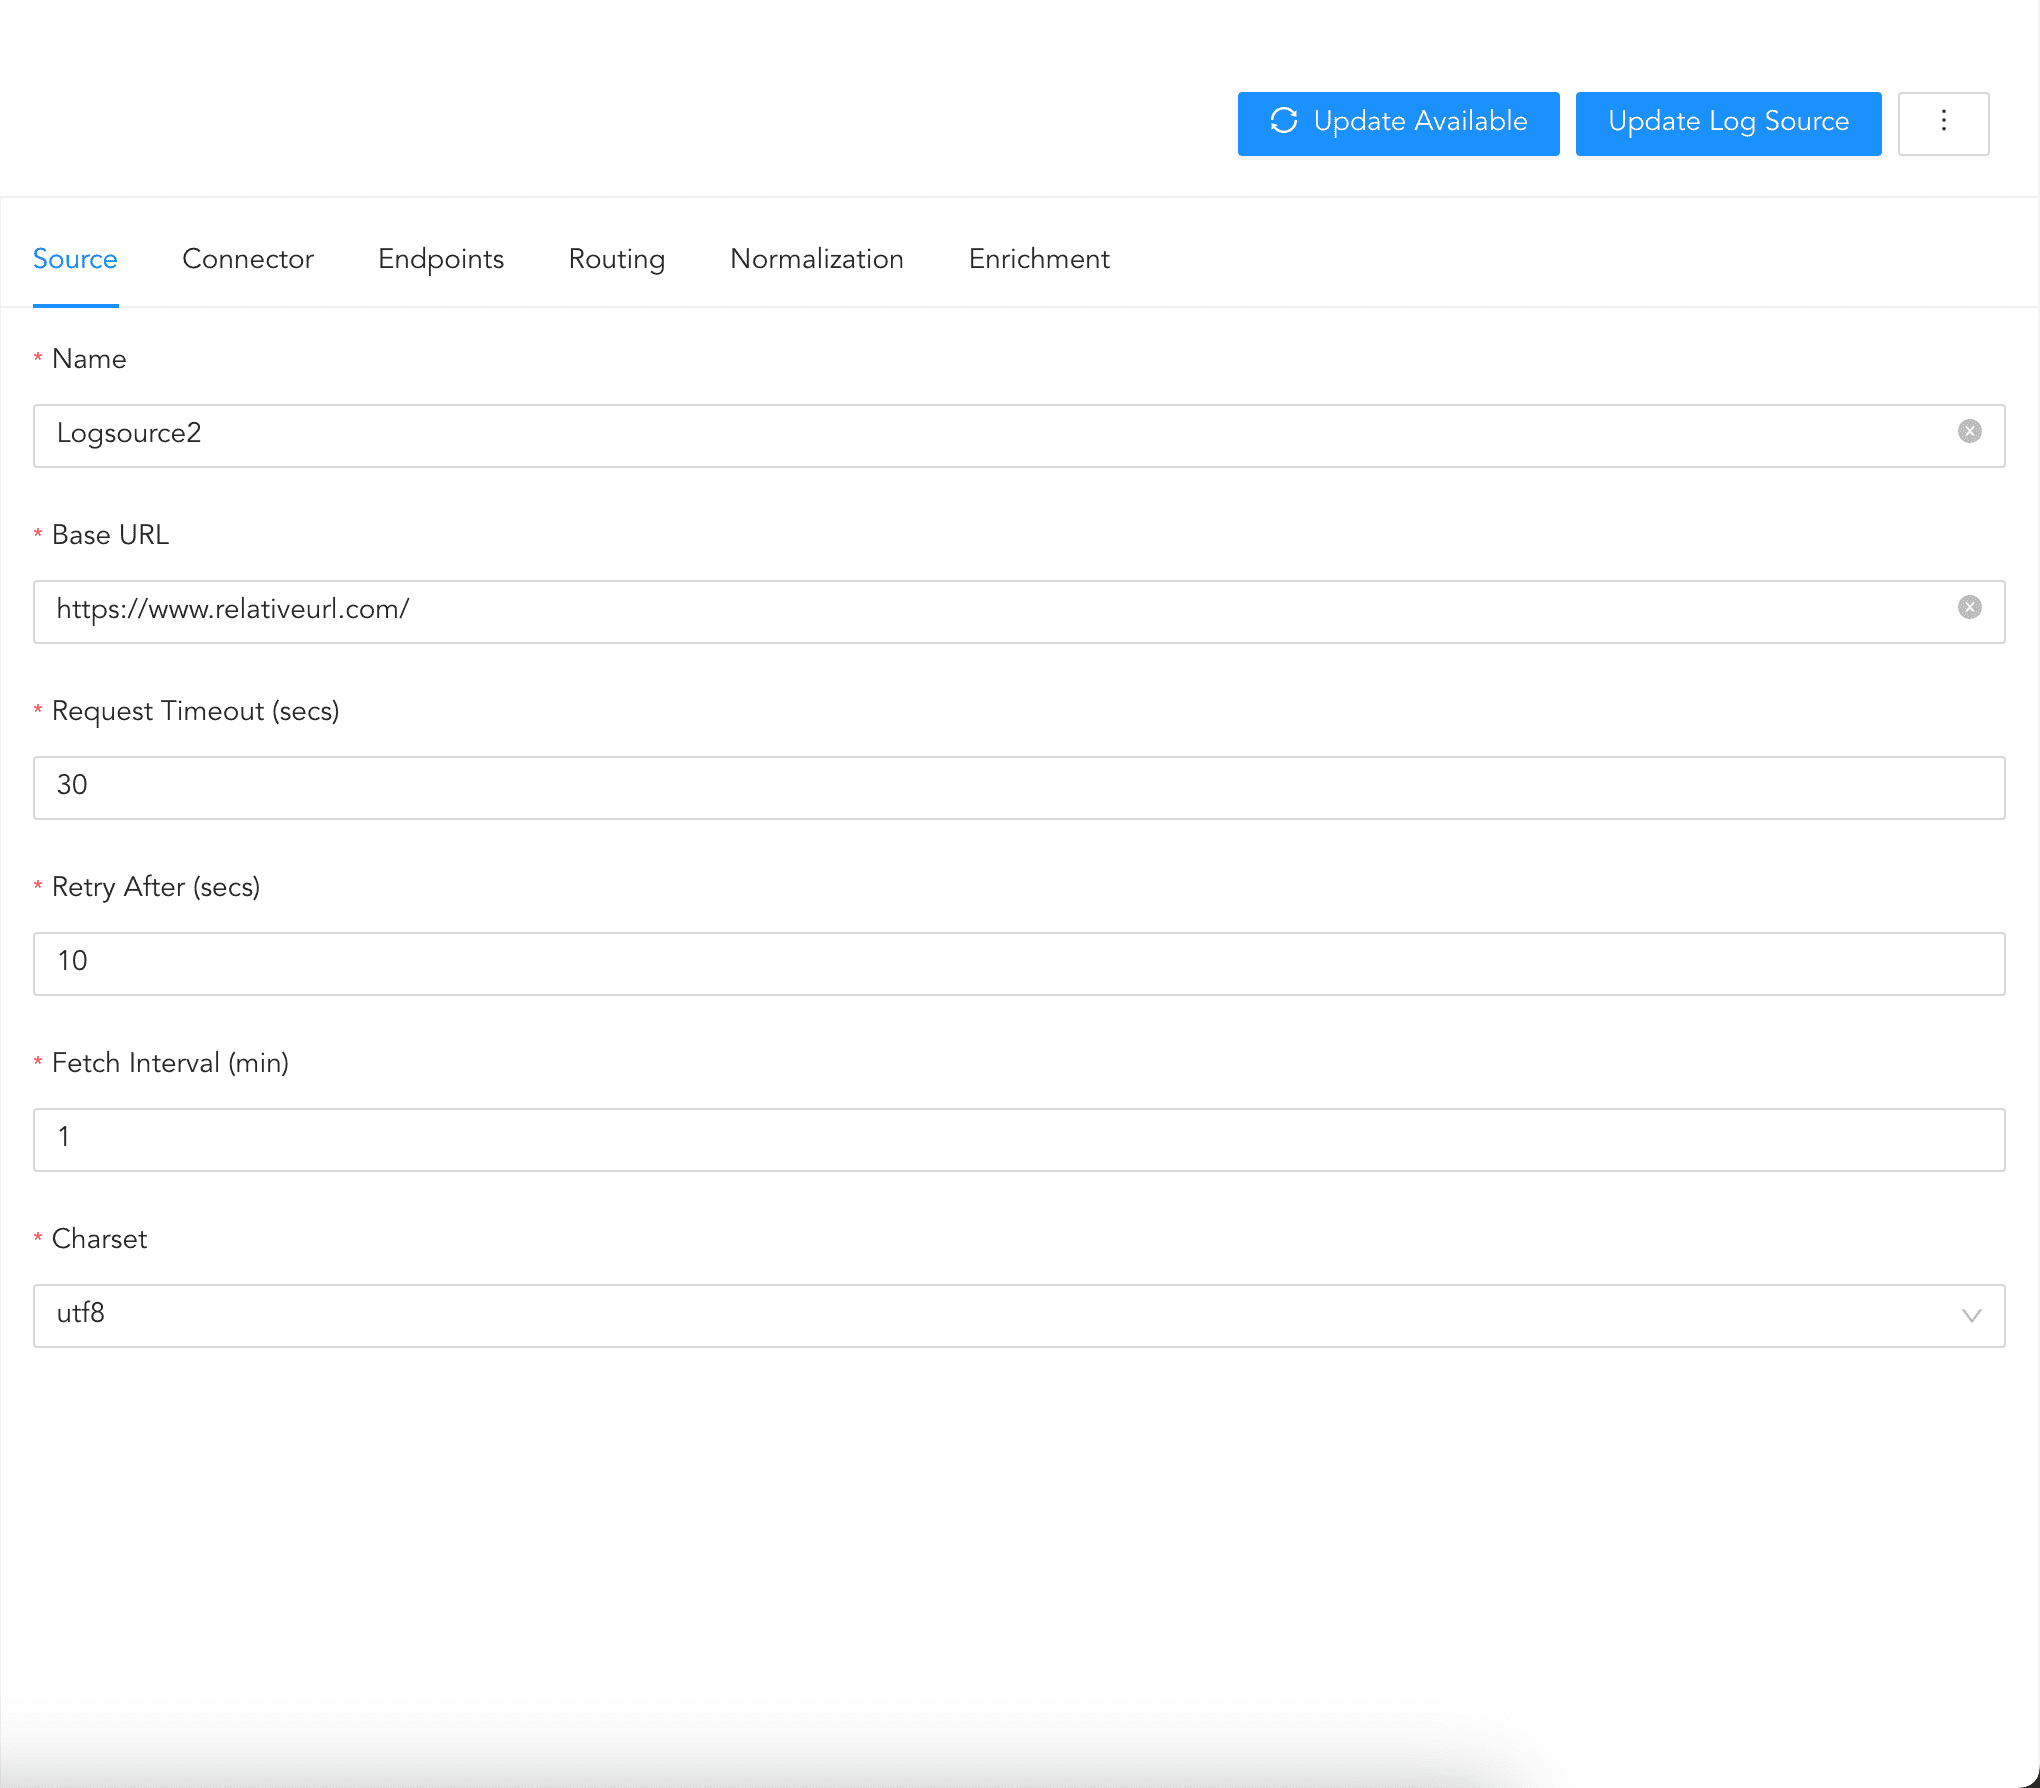
Click the log source and make the necessary changes.
Click Update Log Source.
Editing Log Source
Go to Settings >> Log Sources from the navigation bar.
Click the ( ) icon of the log source and click Delete Log Source.
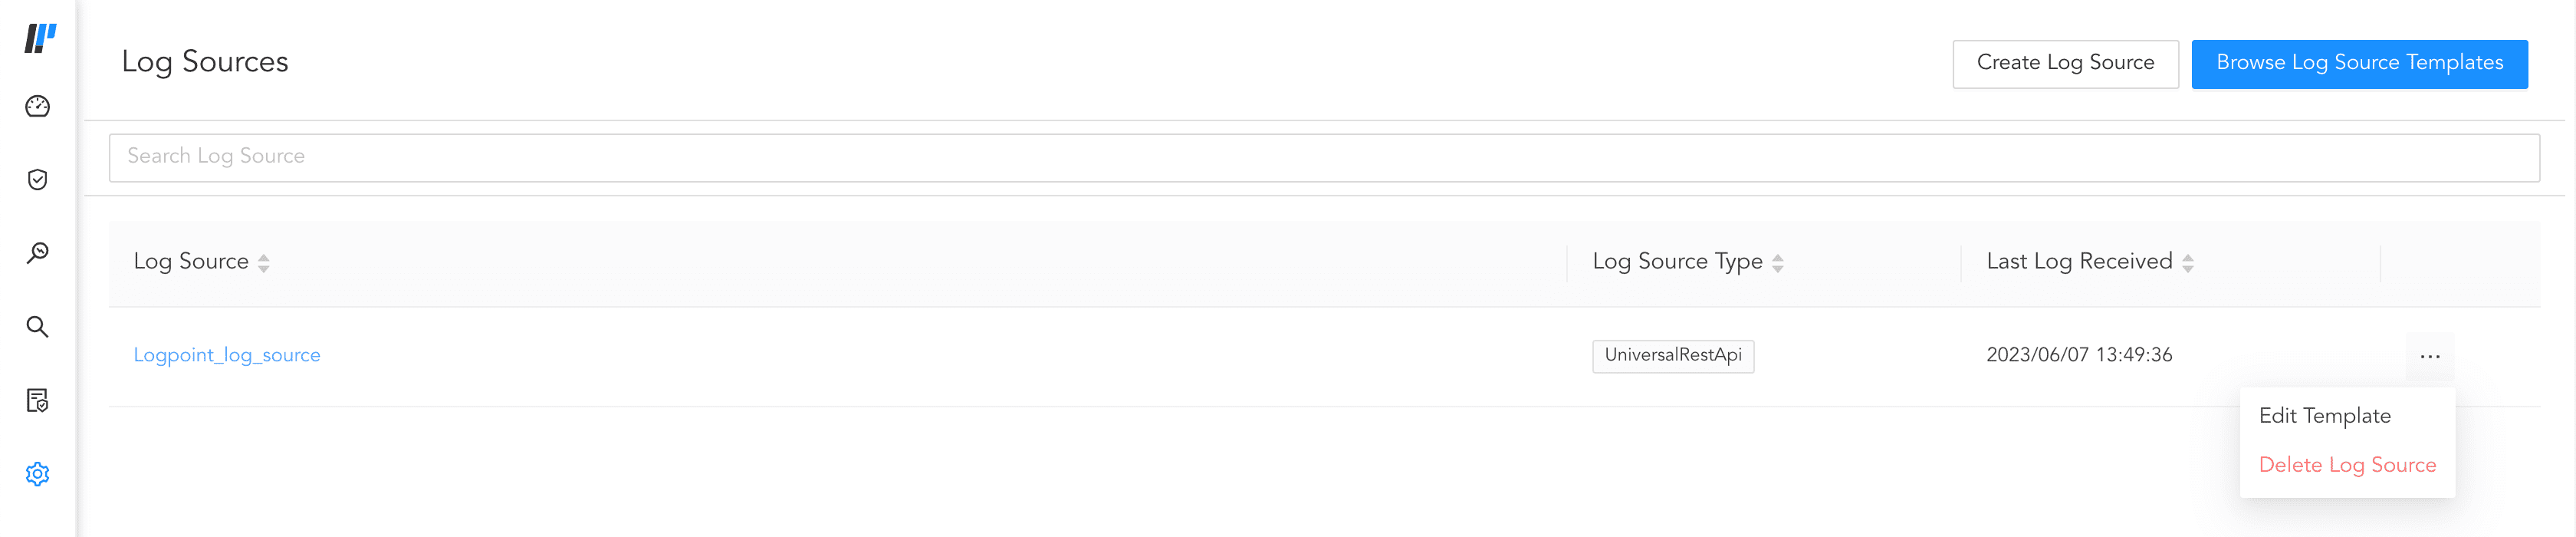
Deleting Log Source
Click Delete.
Alternatively,
Go to Settings >> Log Sources from the navigation bar.
Click on the Log source.
Click the () icon and click Delete Log Source.
Click Delete.
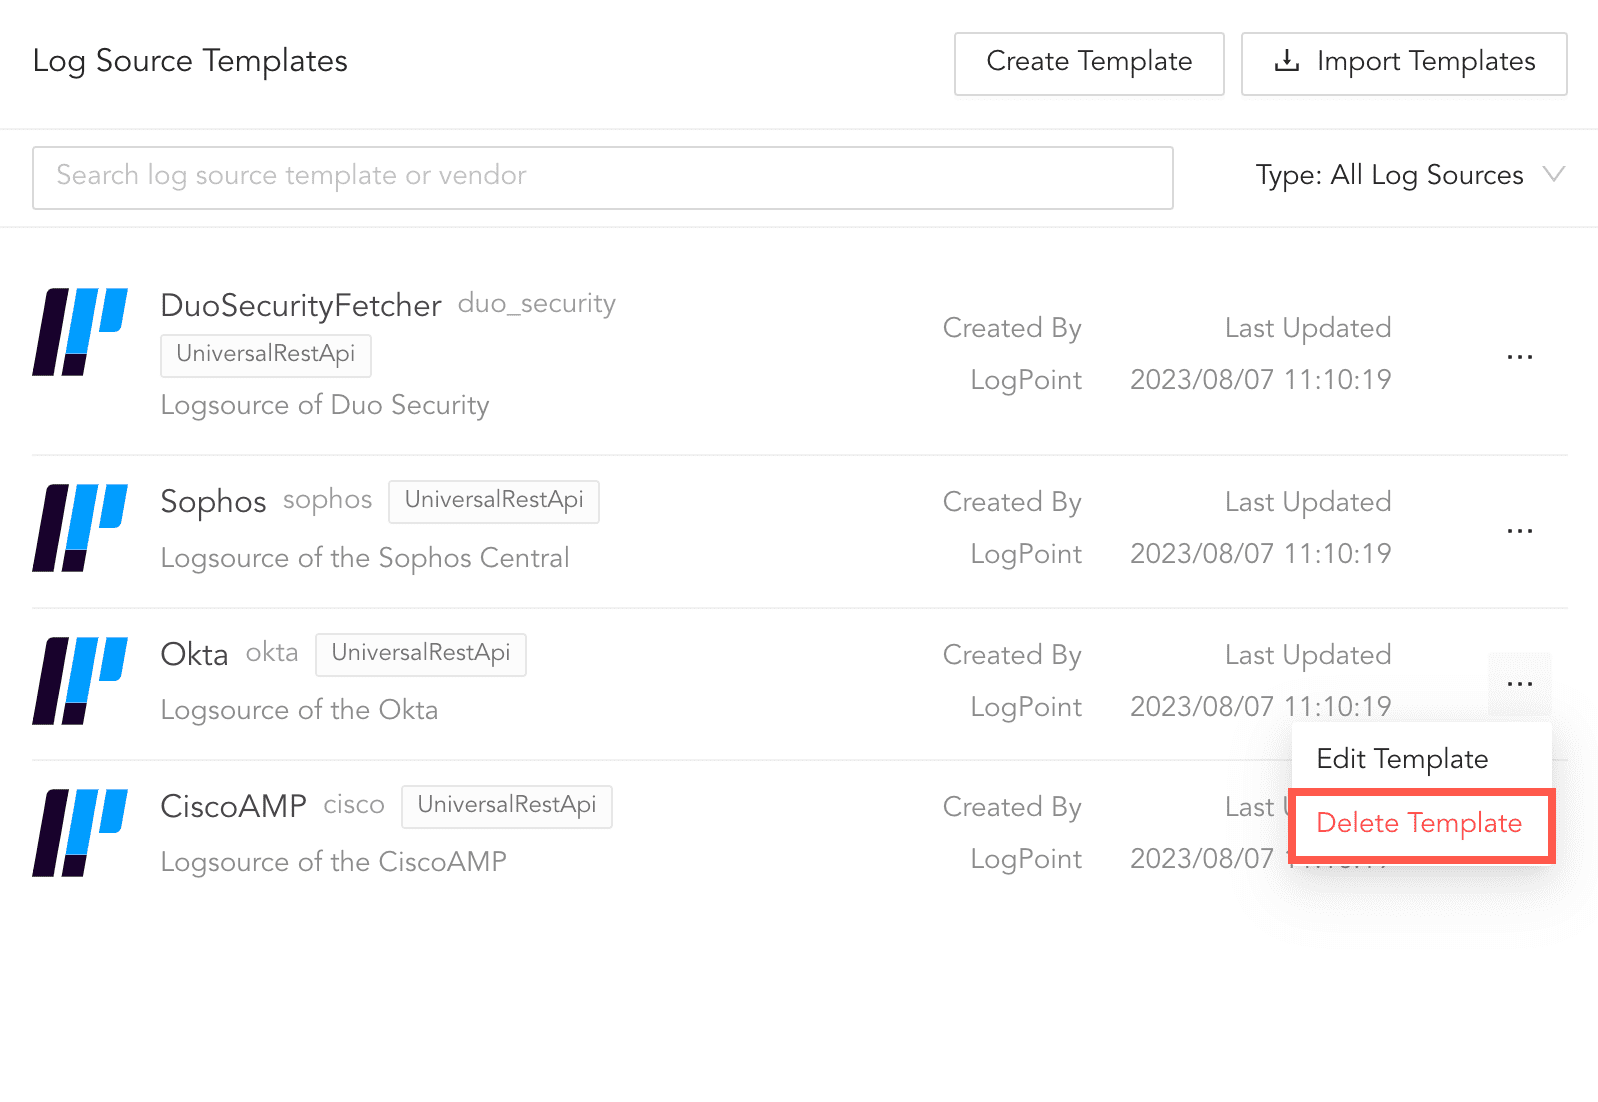
Logpoint comes with a list of pre-configured Vendor Templates that can be used to create new log sources. The vendor templates are as follows:
DuoSecurityFetcher
Sophos
Okta
CiscoAMP
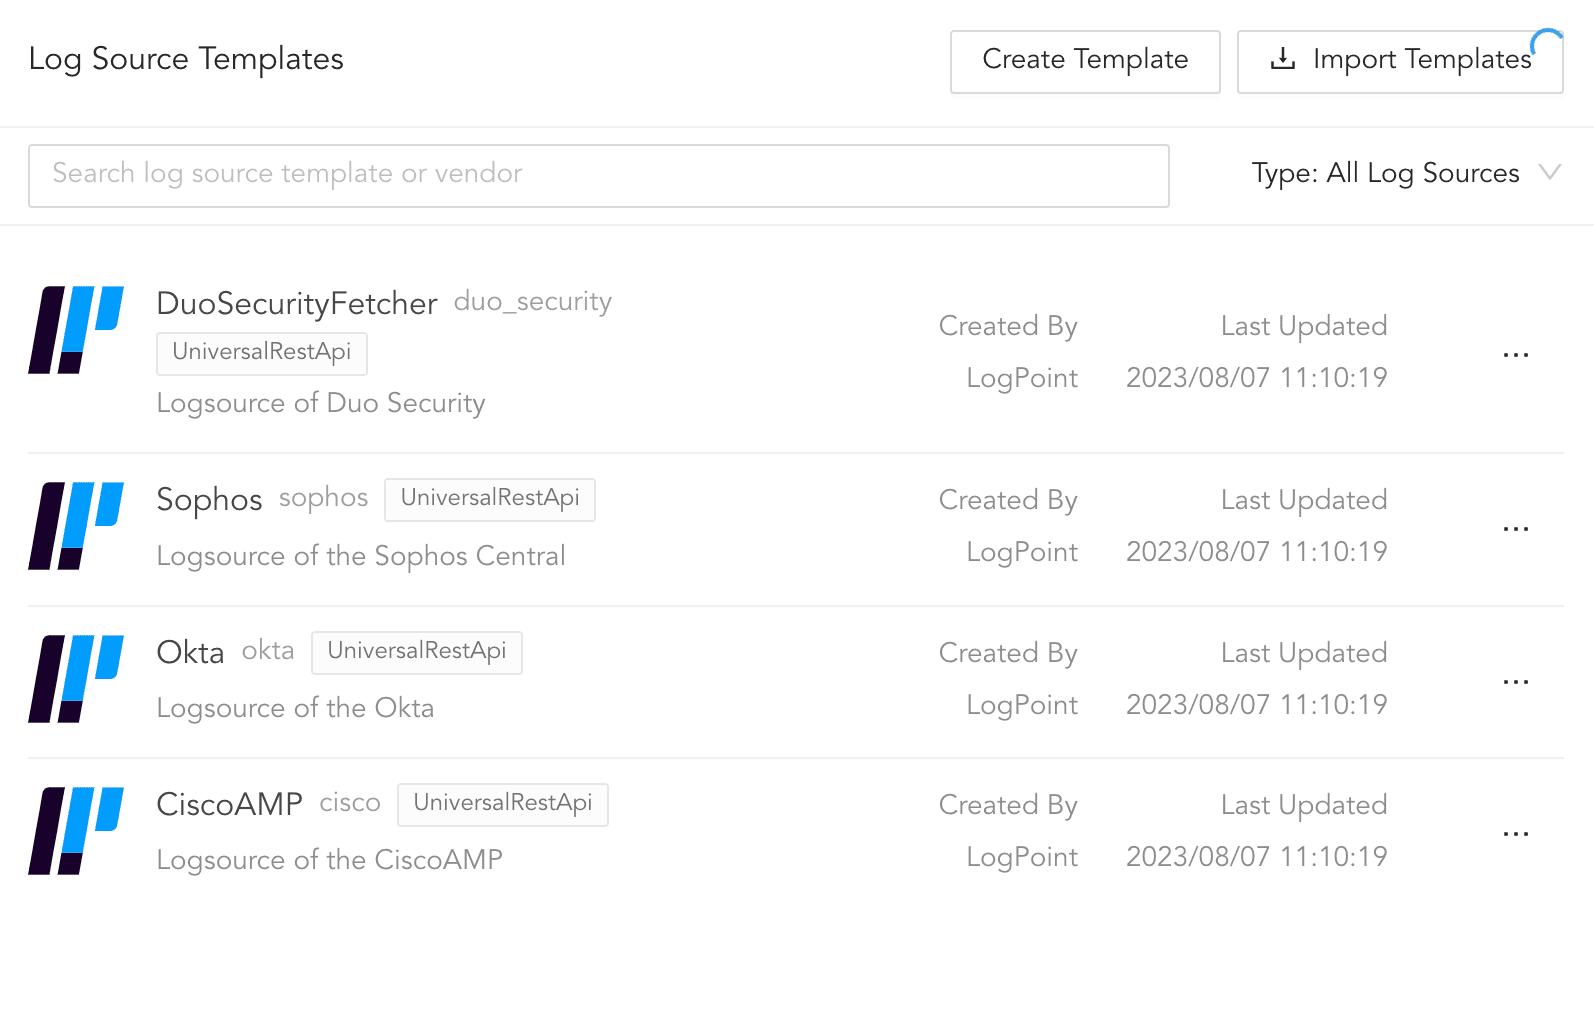
Vendor Templates
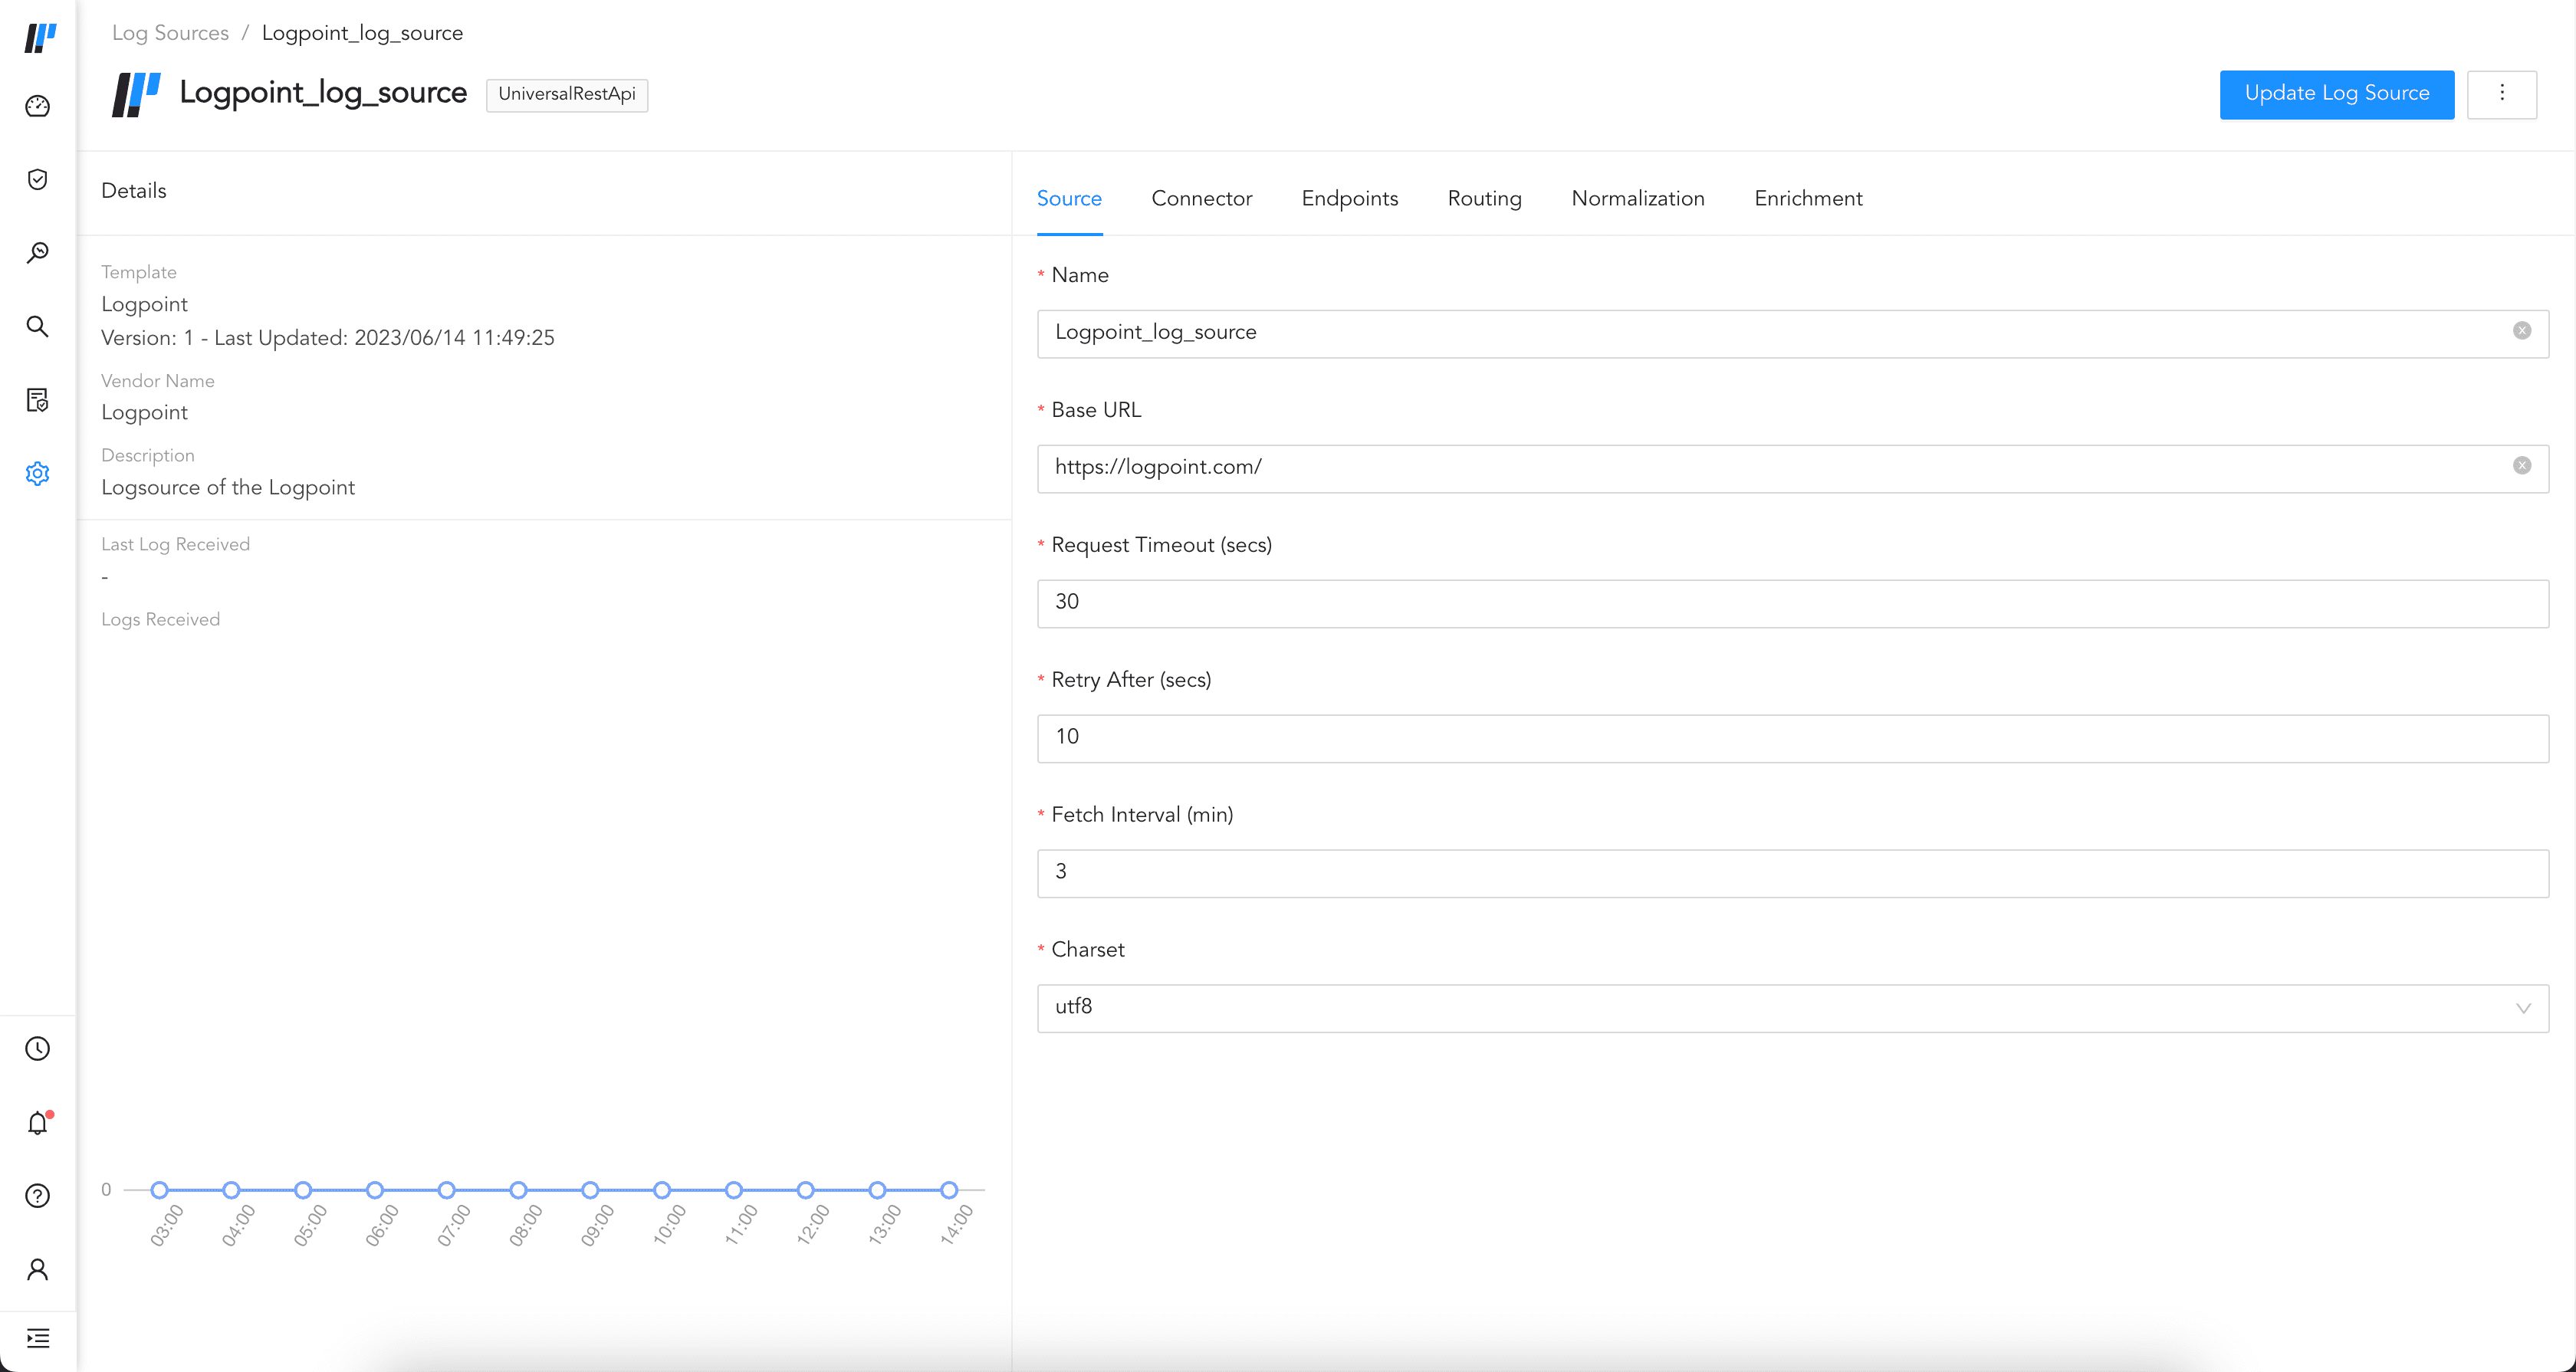
The log source configurations can be saved as a template and later used to configure the same or a different source. You can also export the templates and upload them while configuring log sources.
To save configurations as a template:
Go to Settings >> Log Sources from the navigation bar.
Click the previously created log source.
Click the more ( ) icon and click Configure Template.
Configure the template.
Click Save as Template.
To find the created template, go to Settings >> Log Sources and click Browse Log Source Templates. You can find the list of created templates.
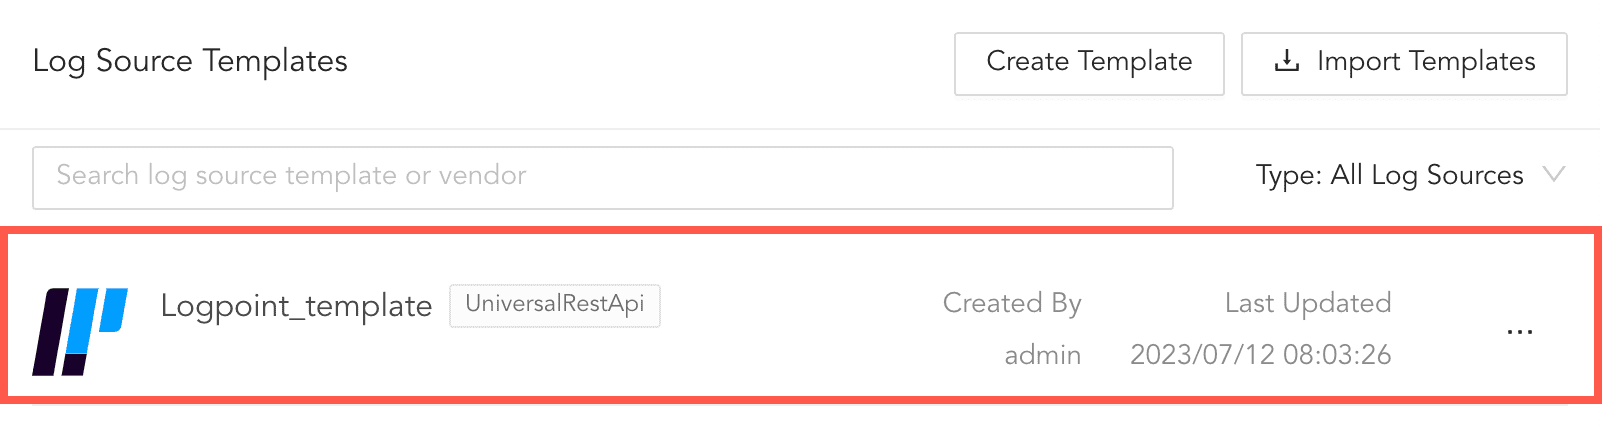
Accessing Templates
To use the created template as a log source, click the template and click Save Configuration. The template is now saved as a log source. However, Logpoint must have the normalizers and repos used in the template. If the repos are not there, you must either create repos with the same names or select different ones. For normalizers, you can either install the normalizer or deselect them.
Note
If Logpoint does not have the signature-based normalization package used in the imported template, Log source automatically installs it.
Go to Settings >> Log Sources from the navigation bar.
Click Browse Log Source Templates.
Click the () icon for the Log Source Template
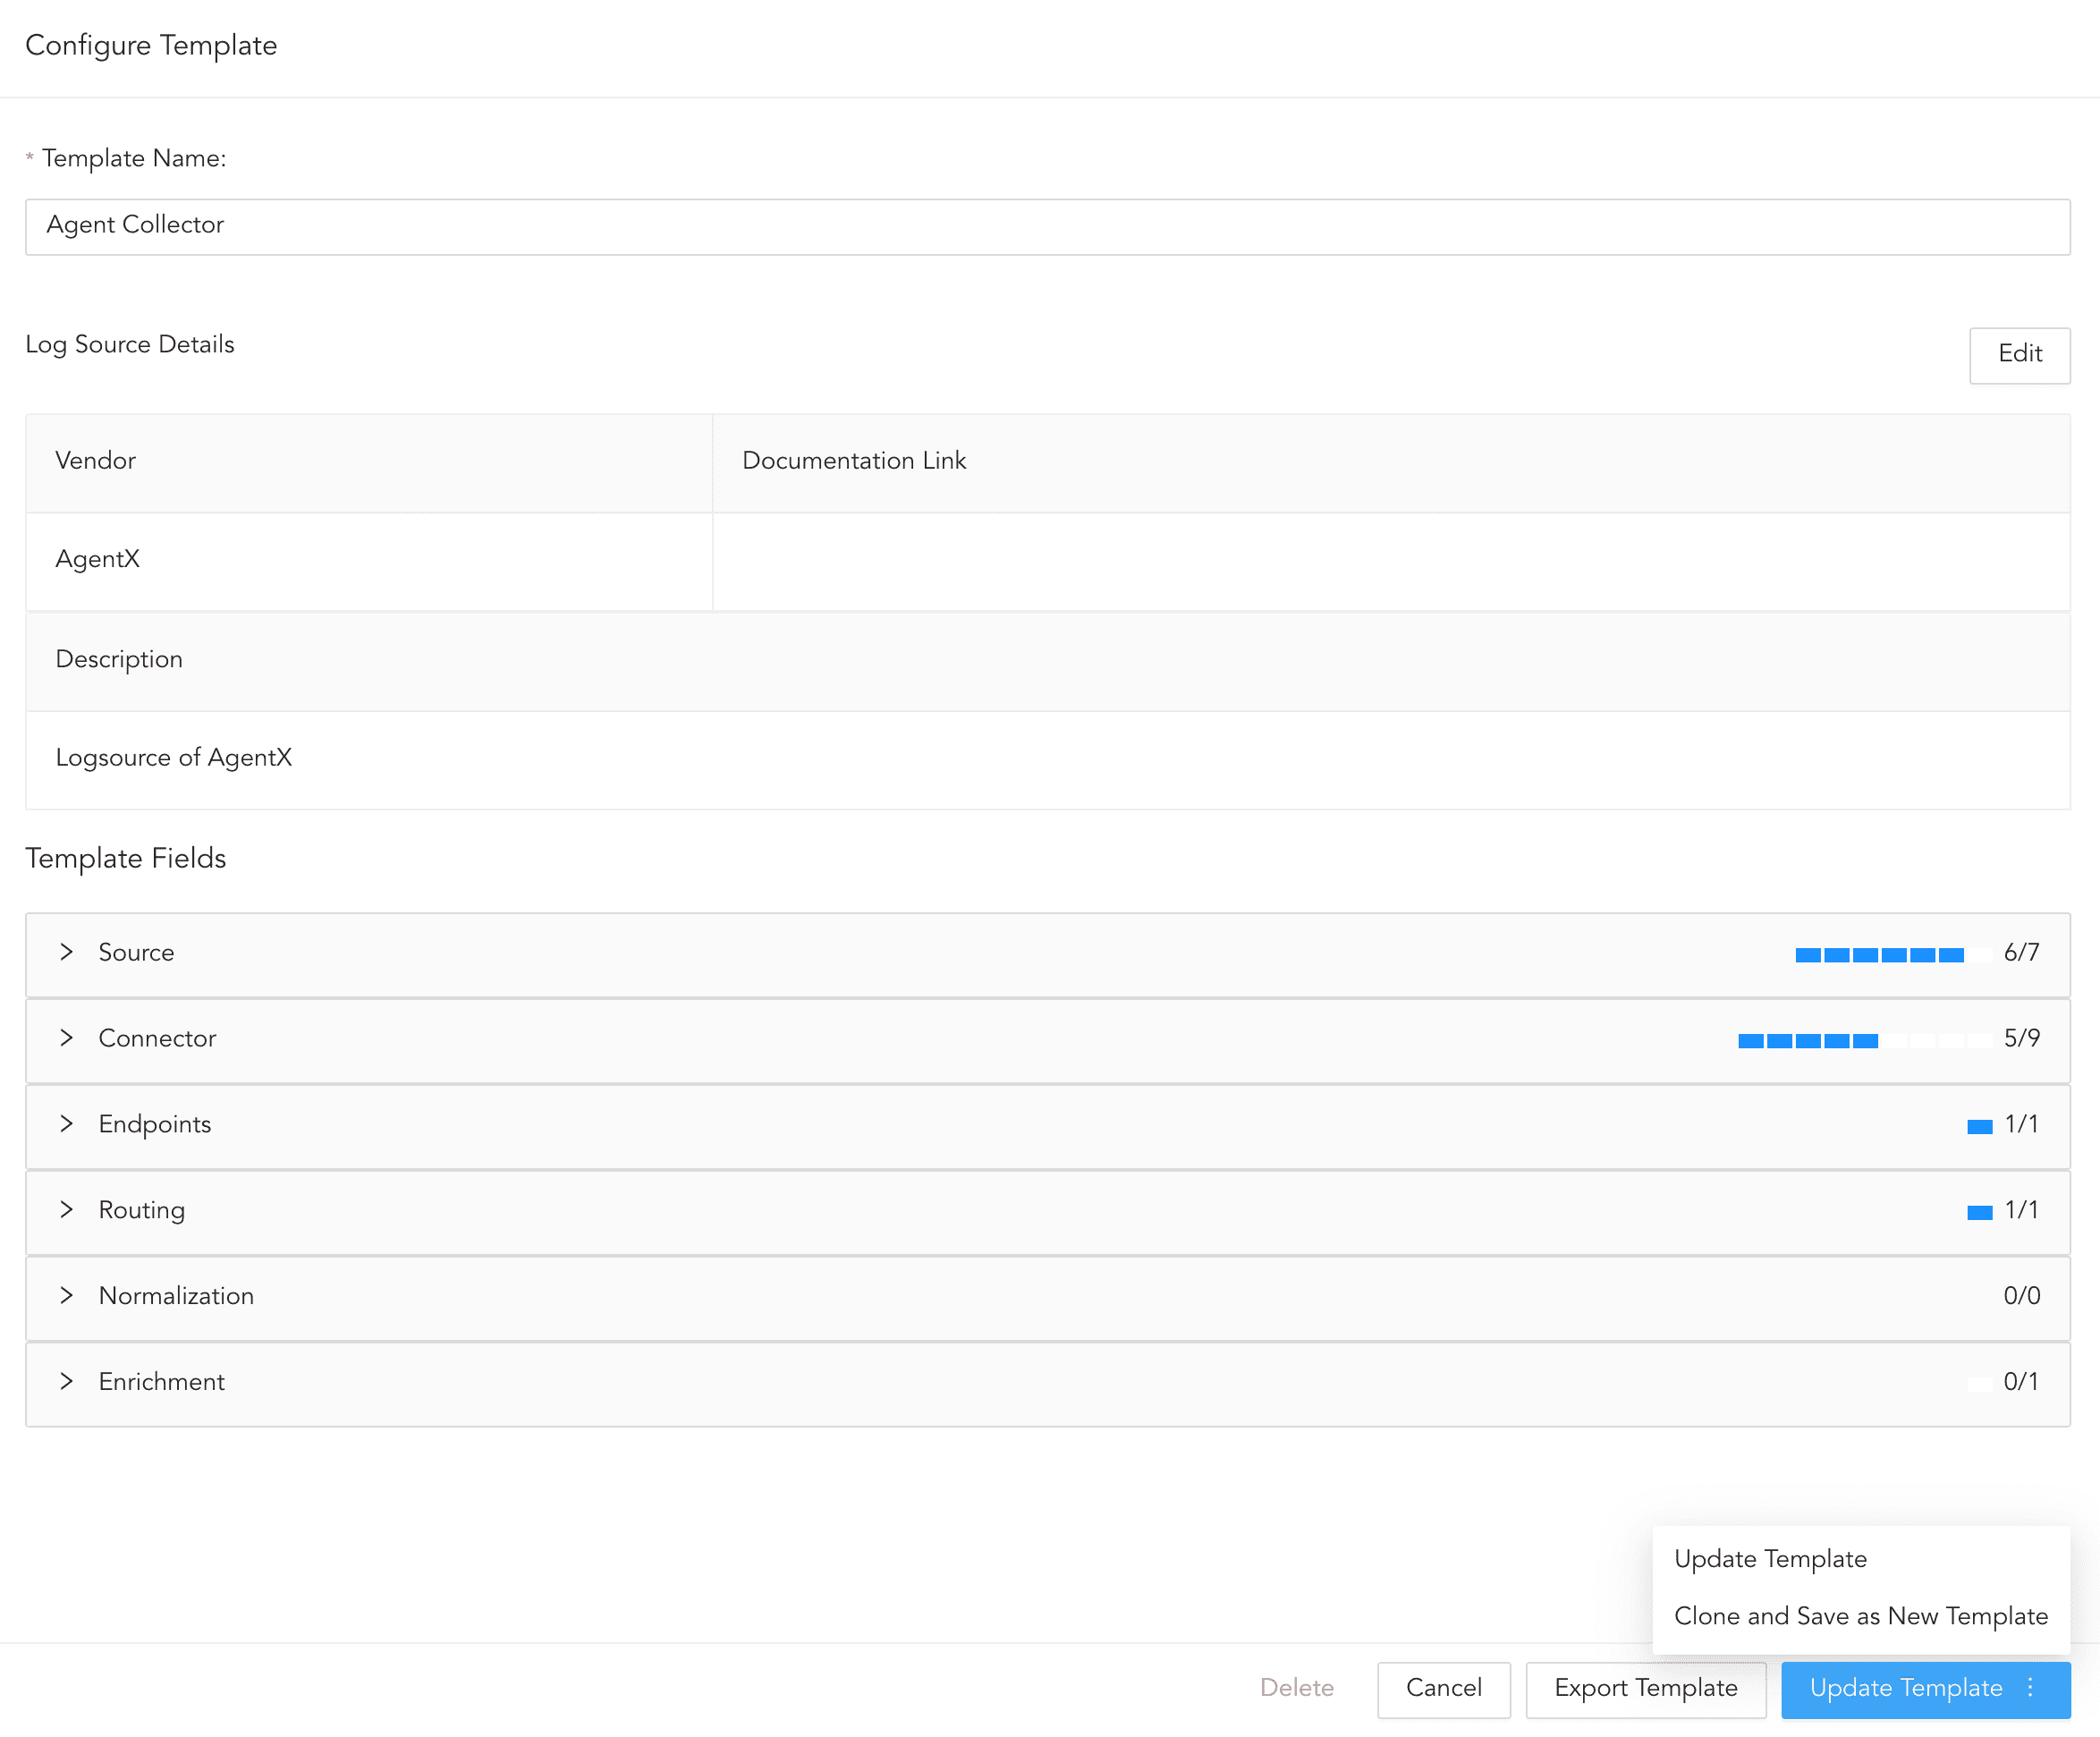
Click Edit Template.
Make the necessary changes and click Update Template.
5.1. To save the changes in a new template, enter a new name for the template and click Clone and Save as New Template.
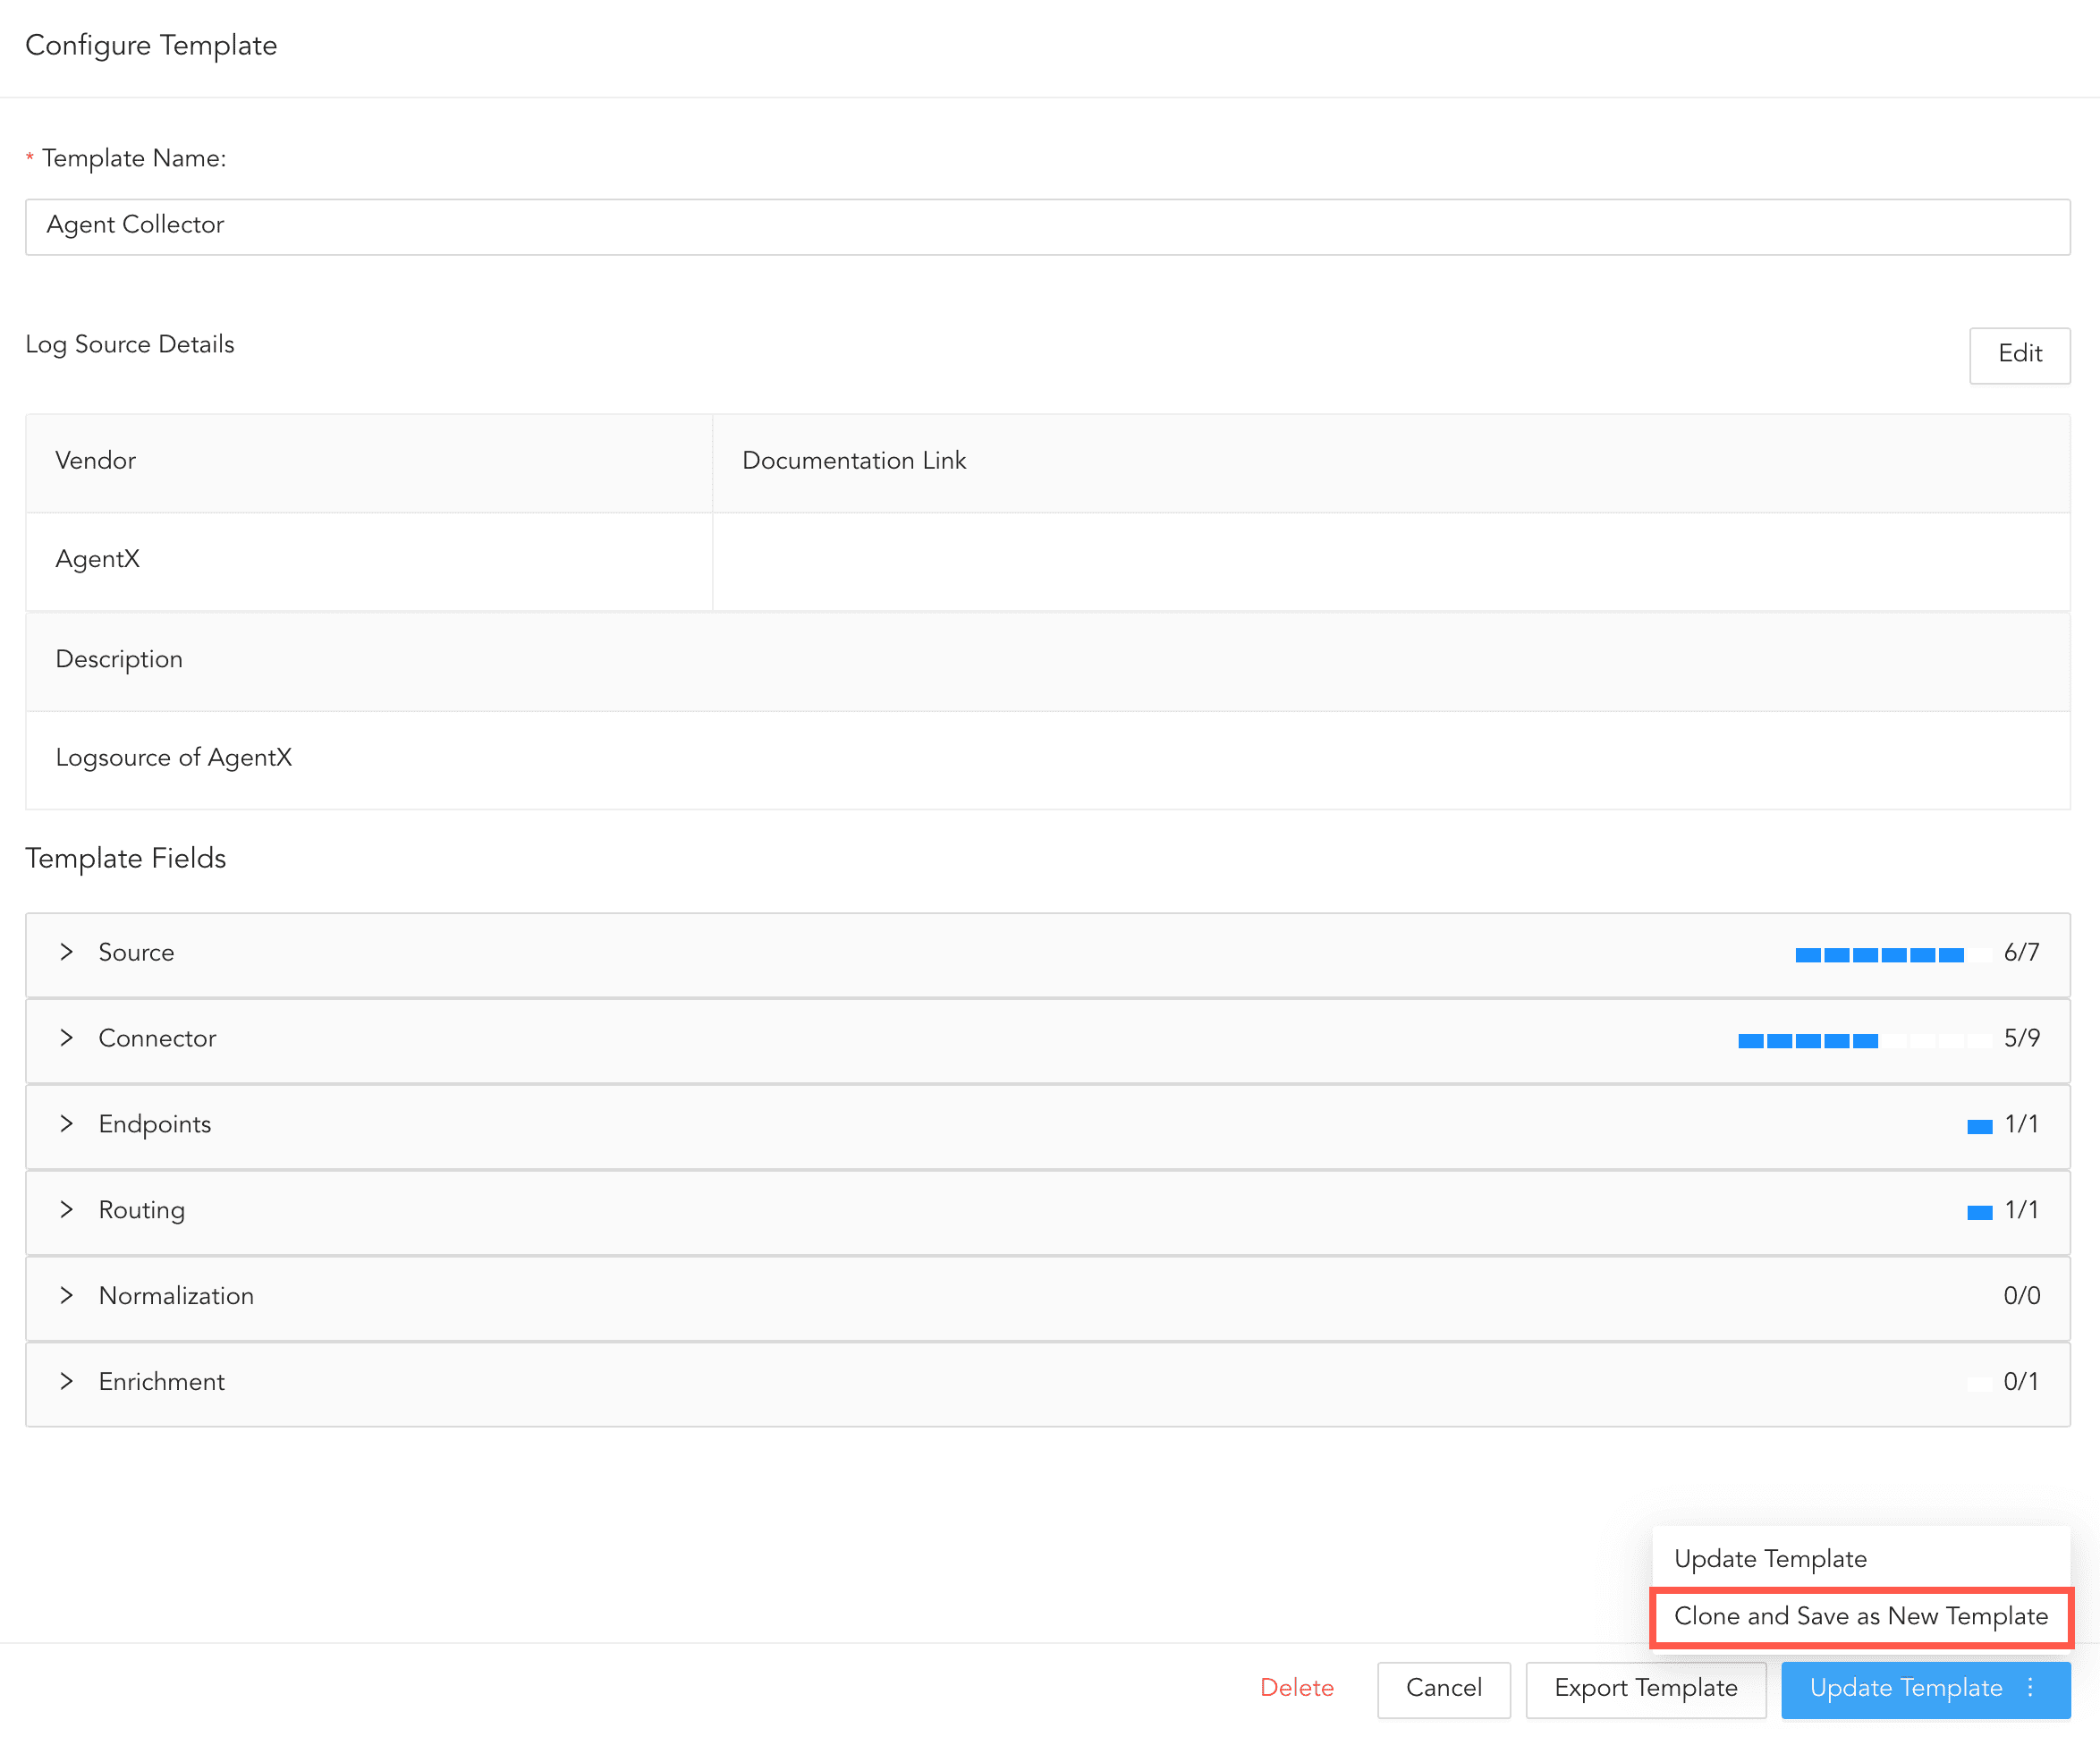
Cloning Templates
5.2. To save the changes in the same template, click Update Template.
You can also update the log sources configurations that are created using this template. Select the log sources to update and click Update Log Sources. However, only the following entities are updated:
Fetch Interval (min)
Request Timeout (secs)
Retry After (secs)
Charset
Custom Headers
Enforce HTTPS Certificate Verification
Normalizer
Logo
Description
Vendor Name

Updating Log Sources
During export, all custom normalization packages in the template are exported. For vendor normalization packages, only their metadata (name, version and vid) is exported.
You must first configure Log Source and save it as a template to export it.
To export a Log Source template:
Go to Settings >> Log Sources from the navigation bar and click Browse Log Source Templates.
Click the () icon and click Edit Template.
Click the () icon and click Configure Template.
Click Export Template.
Exporting Templates
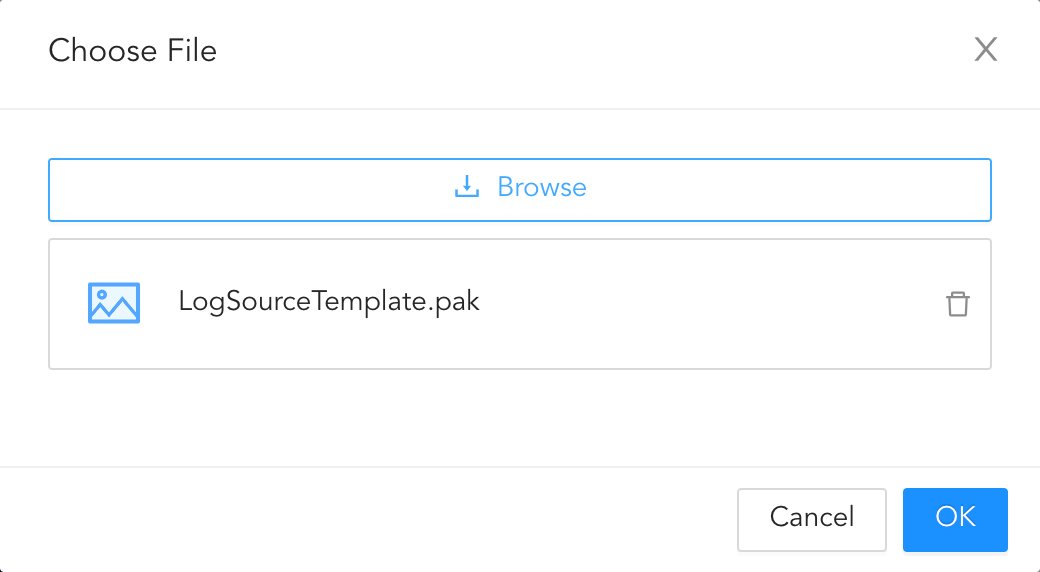
To import a Log Source template:
Go to Settings >> Log Sources from the navigation bar and click Browse Log Source Templates.
Click Import Templates.
Browse to the exported .pak file.
Importing a template.
Click OK.
Go to Settings >> Log Sources to find the imported template. If a template with the same name as the imported template exists, you must change it. In Choose new names, enter a new name for the template and click OK.
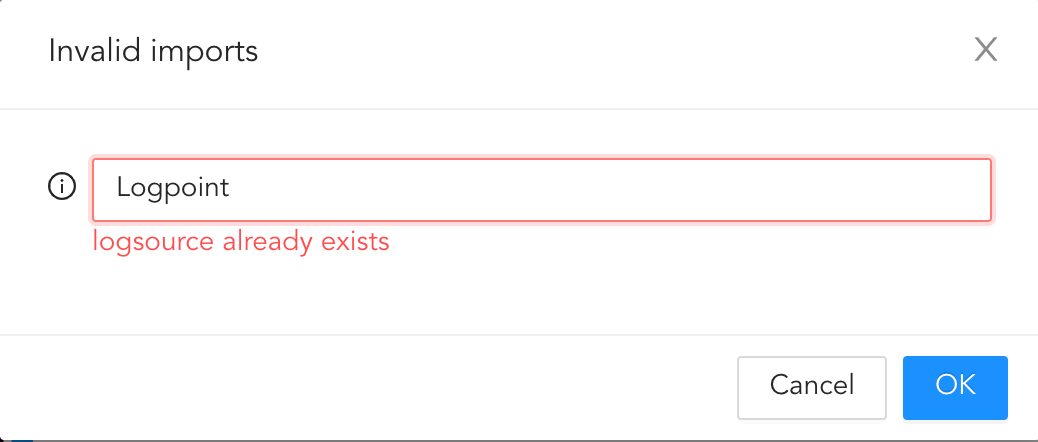
Invalid Imports
If you create a Log Source with an imported template consisting of a custom normalization package, the package is automatically created in your Logpoint. In the case of name conflict, the suffix “_1” is added to the custom package.
In the case of vendor normalization packages, if your Logpoint has the same or a newer version of the vendor normalization package, the new version is automatically selected. If your Logpoint has the older version or does not have the required package, you must download and install the latest package from the Service Desk.